Public Welfare CourseOctober 20, 2026· 乐团场记
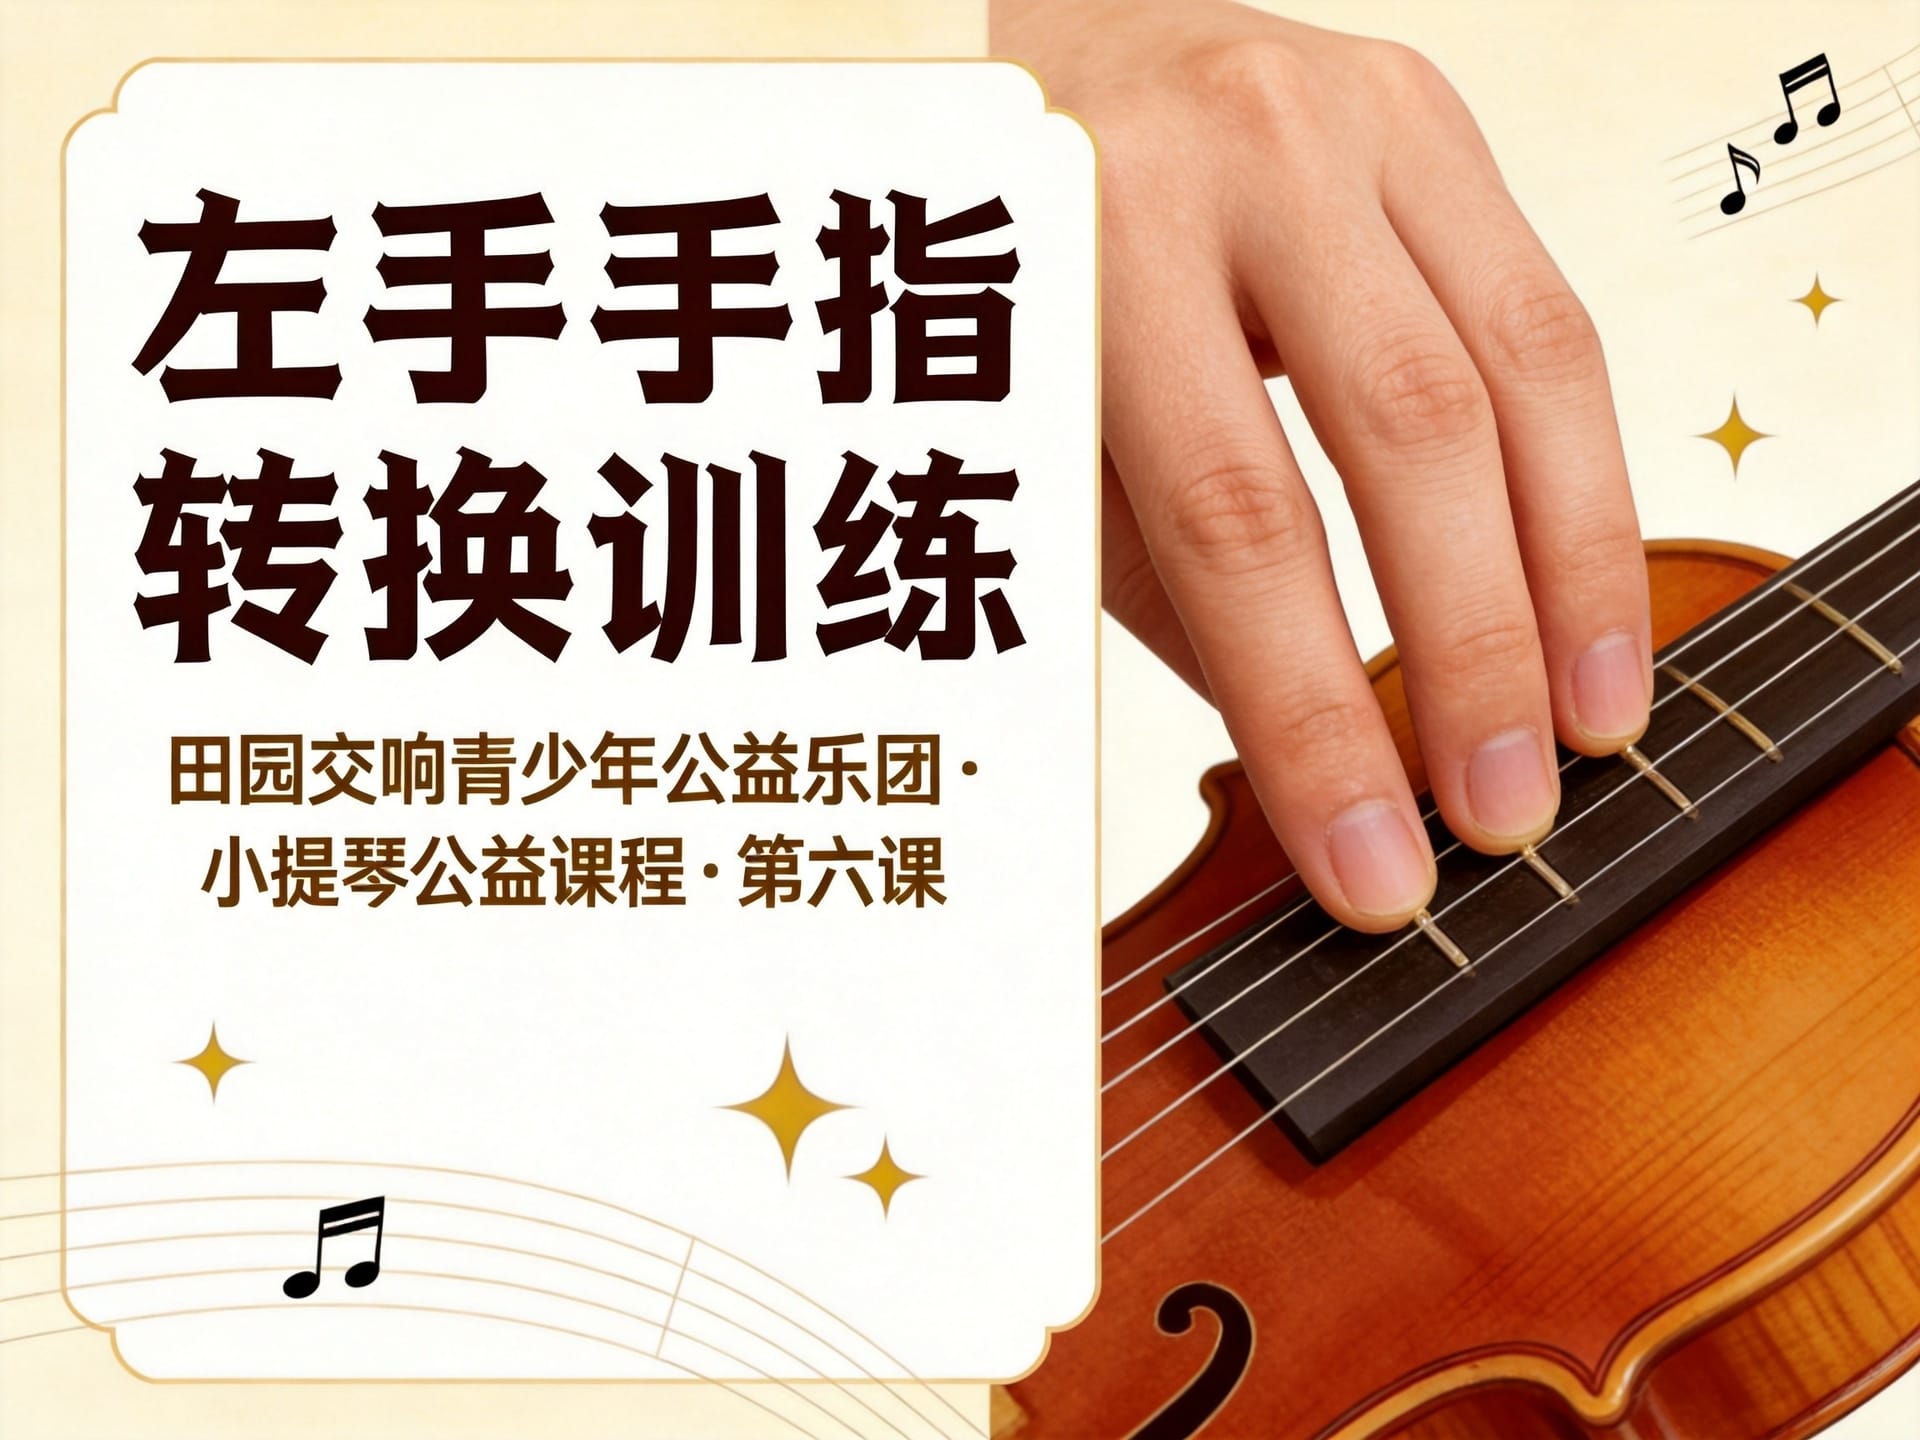
Lesson Six: Left-Hand Finger Transition Training
Building on the completion of the "Twinkle Twinkle Little Star" study, proceed with finger transition training from finger 1 (index finger) → finger 2 (middle finger) → finger 3 (ring finger), establishing a triangular support framework on the left-hand fingerboard and shaping a stable left-hand hand position.
Idyllic Symphony Youth Public Welfare Orchestra
Violin Public Welfare Course
Idyllic Symphony Orchestra · Teacher Hao's Violin Class
Lesson 1 Lesson 2 Lesson 3 Lesson 4 Lesson 5 Lesson 6
Lesson Six
Left-Hand Finger Transition Training
Build the support framework of finger 1 → finger 2 → finger 3, and solidify the foundation of the left-hand hand shape
Hao
Hao Li · Teaching Director
Former solo violinist of the Central Philharmonic Orchestra · Returnee expert from Canada
Symphonic stage experience on three continents · More than forty years of teaching experience
Hao Li's musical career began with the Central Philharmonic Orchestra (predecessor of the China National Symphony Orchestra). He has performed with the National Symphony Orchestra of Colombia and the Canada Irland Symphony Orchestra, spanning three continents: China, South America, and North America. As chief consultant of Violin Temple Treasure Hall and teaching director of the Idyllic Symphony Orchestra, he has poured more than forty years of stage and teaching experience into this zero-foundation teaching system.
🎯 Teaching Objectives
On the basis of completing the study of "Twinkle Twinkle Little Star," carry out finger transition training from finger 1 (index finger) → finger 2 (middle finger) → finger 3 (ring finger), establish a triangular support framework on the left-hand fingerboard, and shape a stable left-hand hand position.
Teaching Content
1Getting to Know the Three Left-Hand Fingers
• In violin playing, the four stopping fingers of the left hand are each numbered: • Finger 1 = index finger
• Finger 2 = middle finger
• Finger 3 = ring finger
• Finger 4 = little finger
• In the first three lessons, we have already begun establishing the hand shape starting from finger 2 (middle finger), and in the fourth lesson we added finger 3 (ring finger)
• The core task of this lesson is: to enable the three fingers—finger 1 (index finger), finger 2 (middle finger), and finger 3 (ring finger)—to transition freely and sequentially on the fingerboard
 2Three-Finger Support and Hand Shape Formation
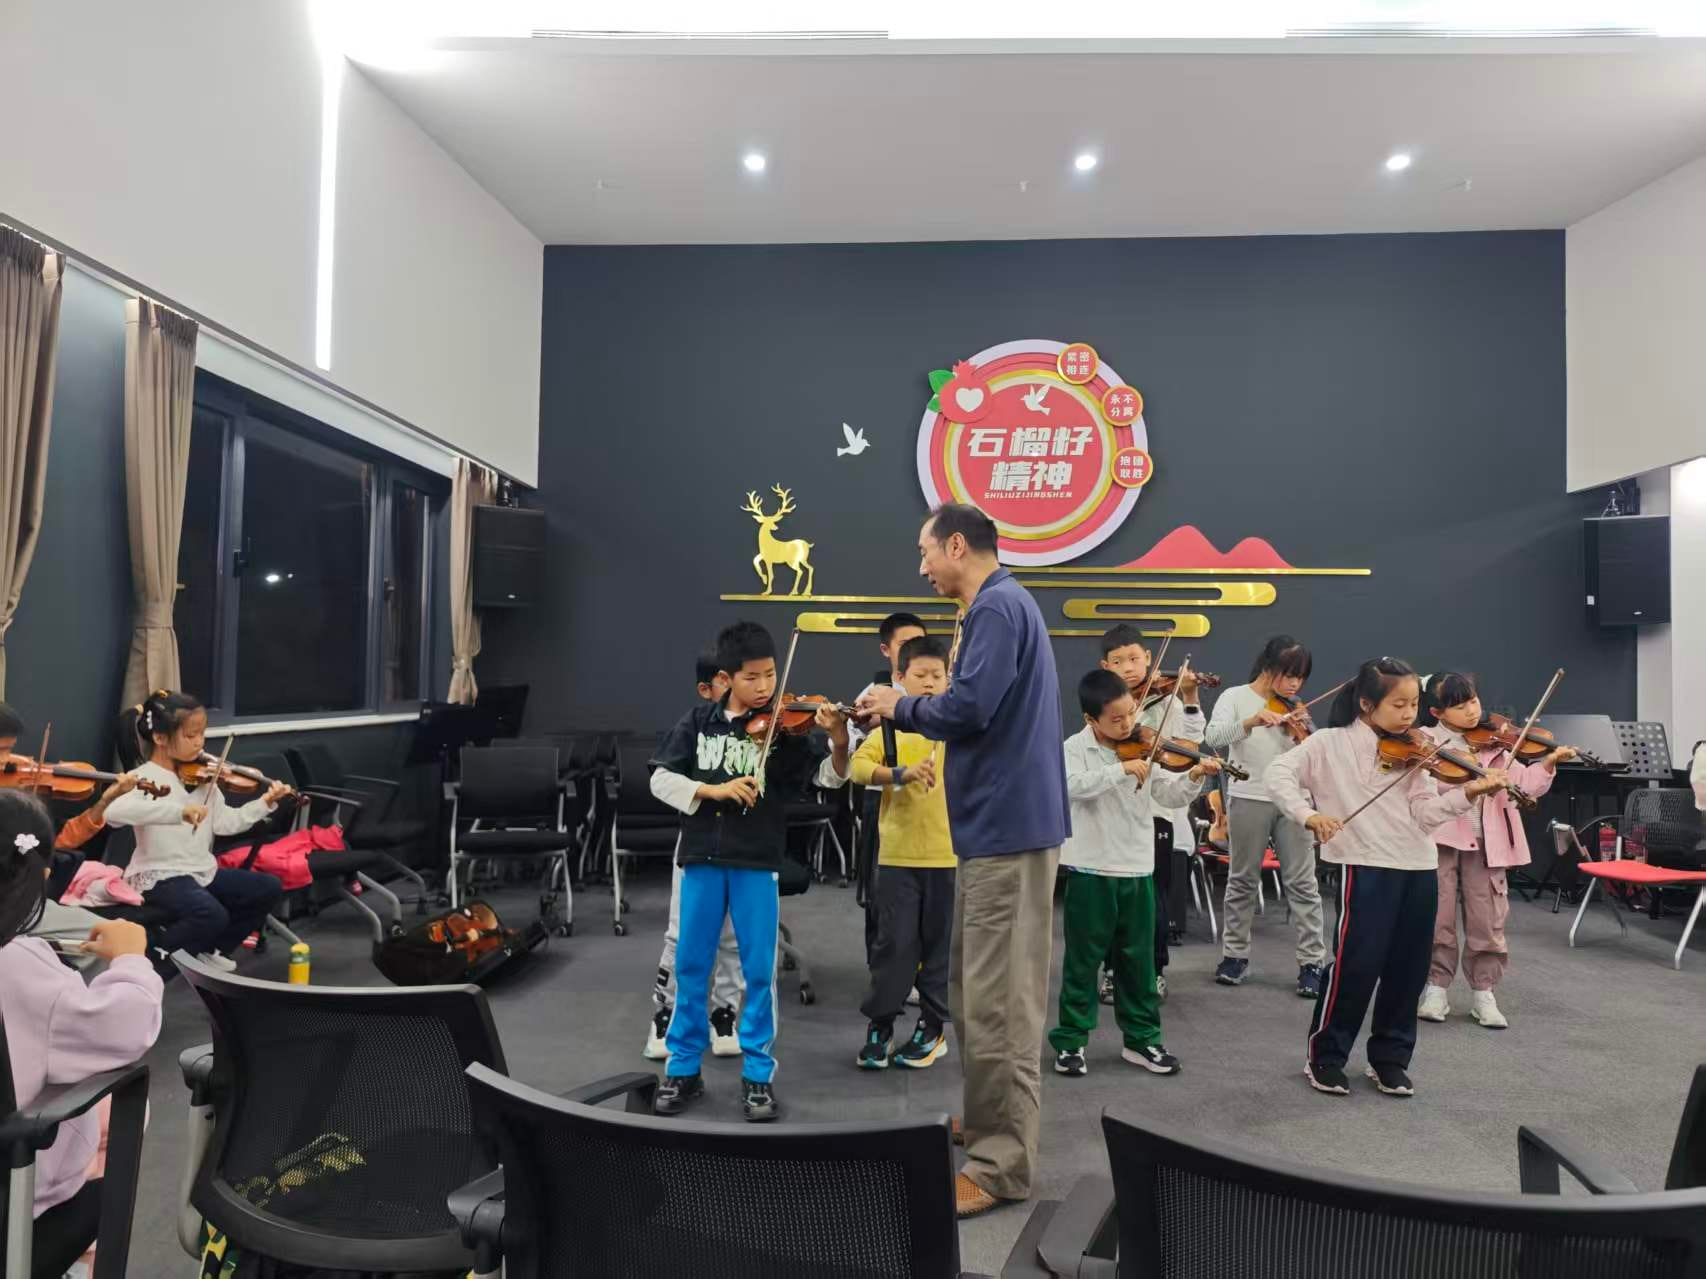
• The stability of the left-hand hand shape depends on the support relationship established on the fingerboard by the three fingers: finger 1, finger 2, and finger 3
• These three fingers are like a "triangular stand," determining whether the basic framework of the hand shape is firm
• The goal of transition training: every rise and fall of the fingers on the fingerboard must keep the hand shape from deforming and ensure that the positions of the other fingers are not affected
3The Special Challenge of the Ring Finger
• In daily life, people's active fingers mainly rely on the index finger and middle finger, while the ring finger rarely exerts force independently
• This physiological characteristic causes most children to be very unaccustomed to the independent movement of finger 3 (ring finger) when stopping the strings
• Common problems: when finger 3 presses down, it affects the positions of fingers 2 and 4; the fingers do not rise and fall independently, and the strength is insufficient
• Therefore, the transition training of finger 1 → finger 2 → finger 3 is especially important, particularly for young beginners—a large amount of repeated practice is needed for the ring finger to develop independent movement ability
💡 Teacher Hao says: The ring finger is the hardest finger to tame in left-hand violin technique. It is naturally weak in strength and poor in independence, but this is precisely the key to whether the left-hand hand shape can hold up. There is no shortcut in this training: it is simply repeated transitions of finger 1 → finger 2 → finger 3 and finger 3 → finger 2 → finger 1, so that the child's fingers gradually establish a new movement habit. It cannot be rushed, but it also cannot be skipped.
4Practice Methods and Requirements
• Slow practice: finger 1 presses down → hold → finger 2 presses down → hold → finger 3 presses down → hold, checking the hand shape finger by finger
• Reverse training: the return from finger 3 → finger 2 → finger 1 also requires independent fingers and a stable hand shape
• Coordinate with open-string bowing to ensure that right-hand bowing is not disturbed while the left hand transitions
• Key points to watch: whether finger 2 deforms when finger 3 presses down, and whether finger 1 lifts off the fingerboard
• Practice 10-15 minutes every day after class to continuously build the ring finger's independent movement ability
Summary of Progress Across Six Lessons
LessonCore ContentAchievement StandardLesson 1Holding the bow and holding the violinCan make the correct bow-holding motion with a pencil, and the violin-holding posture remains stable without deformationLesson 2Making the violin soundCan produce an even and stable sound with the metronomeLesson 3Left-hand second fingerThe hand shape remains correct when the left-hand second finger stops the string, and right-hand bowing is not affectedLesson 4Left-hand third finger + reviewAll content of the four lessons meets the standard, with the foundation to enter the next stageLesson 5Performing "Twinkle Twinkle Little Star"Can use the "Zhiyin Lü" loop demonstration to practice sentence by sentence, and initially master the performance of phrases from "Twinkle Twinkle Little Star"Lesson 6Left-hand finger transition trainingThe hand shape remains stable during finger 1 → finger 2 → finger 3 transitions, and the ring finger has basic independent rising and falling ability📝 After-Class Practice Suggestions
• 10-15 minutes every day of finger-by-finger transition practice from finger 1 → finger 2 → finger 3, at slow speed with open-string bowing
• Focus on conquering the independent rising and falling of finger 3 (ring finger), and check whether the hand shape deforms during transitions
• Continue to review the already learned phrases of "Twinkle Twinkle Little Star" every day to maintain the feel
← Previous Lesson: Performing "Twinkle Twinkle Little Star"Next Lesson →
Idyllic Symphony Orchestra · Teaching Research and Development Department | Teaching Director: Hao Li
violintemple.com
2Three-Finger Support and Hand Shape Formation
• The stability of the left-hand hand shape depends on the support relationship established on the fingerboard by the three fingers: finger 1, finger 2, and finger 3
• These three fingers are like a "triangular stand," determining whether the basic framework of the hand shape is firm
• The goal of transition training: every rise and fall of the fingers on the fingerboard must keep the hand shape from deforming and ensure that the positions of the other fingers are not affected
3The Special Challenge of the Ring Finger
• In daily life, people's active fingers mainly rely on the index finger and middle finger, while the ring finger rarely exerts force independently
• This physiological characteristic causes most children to be very unaccustomed to the independent movement of finger 3 (ring finger) when stopping the strings
• Common problems: when finger 3 presses down, it affects the positions of fingers 2 and 4; the fingers do not rise and fall independently, and the strength is insufficient
• Therefore, the transition training of finger 1 → finger 2 → finger 3 is especially important, particularly for young beginners—a large amount of repeated practice is needed for the ring finger to develop independent movement ability
💡 Teacher Hao says: The ring finger is the hardest finger to tame in left-hand violin technique. It is naturally weak in strength and poor in independence, but this is precisely the key to whether the left-hand hand shape can hold up. There is no shortcut in this training: it is simply repeated transitions of finger 1 → finger 2 → finger 3 and finger 3 → finger 2 → finger 1, so that the child's fingers gradually establish a new movement habit. It cannot be rushed, but it also cannot be skipped.
4Practice Methods and Requirements
• Slow practice: finger 1 presses down → hold → finger 2 presses down → hold → finger 3 presses down → hold, checking the hand shape finger by finger
• Reverse training: the return from finger 3 → finger 2 → finger 1 also requires independent fingers and a stable hand shape
• Coordinate with open-string bowing to ensure that right-hand bowing is not disturbed while the left hand transitions
• Key points to watch: whether finger 2 deforms when finger 3 presses down, and whether finger 1 lifts off the fingerboard
• Practice 10-15 minutes every day after class to continuously build the ring finger's independent movement ability
Summary of Progress Across Six Lessons
LessonCore ContentAchievement StandardLesson 1Holding the bow and holding the violinCan make the correct bow-holding motion with a pencil, and the violin-holding posture remains stable without deformationLesson 2Making the violin soundCan produce an even and stable sound with the metronomeLesson 3Left-hand second fingerThe hand shape remains correct when the left-hand second finger stops the string, and right-hand bowing is not affectedLesson 4Left-hand third finger + reviewAll content of the four lessons meets the standard, with the foundation to enter the next stageLesson 5Performing "Twinkle Twinkle Little Star"Can use the "Zhiyin Lü" loop demonstration to practice sentence by sentence, and initially master the performance of phrases from "Twinkle Twinkle Little Star"Lesson 6Left-hand finger transition trainingThe hand shape remains stable during finger 1 → finger 2 → finger 3 transitions, and the ring finger has basic independent rising and falling ability📝 After-Class Practice Suggestions
• 10-15 minutes every day of finger-by-finger transition practice from finger 1 → finger 2 → finger 3, at slow speed with open-string bowing
• Focus on conquering the independent rising and falling of finger 3 (ring finger), and check whether the hand shape deforms during transitions
• Continue to review the already learned phrases of "Twinkle Twinkle Little Star" every day to maintain the feel
← Previous Lesson: Performing "Twinkle Twinkle Little Star"Next Lesson →
Idyllic Symphony Orchestra · Teaching Research and Development Department | Teaching Director: Hao Li
violintemple.com